


1. Outline
1.1 Outline
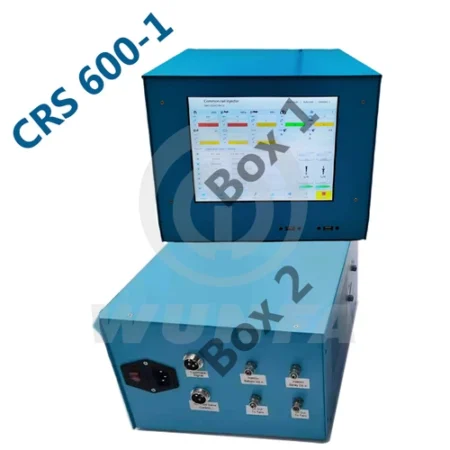
CRS300 high pressure common rail system controller function is to mimic the diesel engine ECU (Engine Control Unit), While providing Bosch, Delphi, Siemens and other common rail system control signal to drive the high-pressure common rail injector and Common rail pump to work, drive signal parameters can be carried out by the user according to their actual situation, and can be saved grouped for easy maintenance personnel to high-pressure common rail injector in working condition to judge different conditions and maintenance。
1.2 Features
1. Support the Electromagnetic injector and Pizeo injector;
2. Supports up to six electromagnetic injectors;
3. Support for multiple rail pressure sensors;
4. Intelligent PID algorithm, the pressure control is more precise;
5. The software and hardware double short-circuit protection, Run Safer.
6. Multi-language selection, Chinese/ English/ Russian;
7. Security is designed to prevent operator misuse, use more secure;
8. Customizable boot LOGO;
9. According to customer demand for customized software interface, operation, chassis appearance;
1.3 Security
To ensure safe operation, please follow the following rules
1. In the course of operating the tester, the operator should wear safety glasses.
2. Using a separate dedicated outlet and reliable grounding. The tester is a three-wire power cord plug connected to a standard three-wire outlet. Please ensure reliable grounding.
3. If the power supply voltage is unstable, please connect the power supply voltage tester uses;
4. Regularly check the AC power cord for damage, and the power plug or power outlet for dust accumulation;
5. If the tester’s abnormal conditions occur, or an abnormal sound or smell, or the tester can not be hot to the touch, stop using it immediately and unplug the AC power outlet, power cord, and all other cables.
6. If the tester fails, please contact the service personnel to obtain necessary assistance.
1.4 Use and maintenance
1. Do not throw, drop, or step on the tester; the tester should avoid being subjected to a strong external impact.
2. Do not insert foreign objects into the connector portion of the tester.
3. Do not allow water or other liquids to flow into the interior or on the tester;
4. Do not touch with wet hands the AC power cord terminals.
5. Do not let dust or foreign matter accumulate on the terminals around the AC power; the accumulation of dust and foreign matter may cause a fire or electric shock.
6. Avoid stepping on or pinched AC power cord.
7. Unplug the power cord when cleaning the tester.
2 Accessories and Interface Description
2.1 Wire of the Injector
2.2 Wire of the pump |
2.3 Wire of Rail Pressure Sensor |
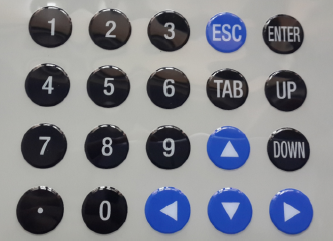
3 Operating Instructions3.1 Keyboard Layout
|


Reviews
There are no reviews yet.