


A. Static Test
After the pump assembly is completed, connect the cable. Do not turn on the power switch. Use a multimeter to measure static resistance. Refer to the following table:
| Static Test Table | ||||||
| Temp. | Drive Actuator | Position Sensor | Temp Sensor | |||
| Pin | Unit: Ω |
Pin | Unit: Ω |
Pin | Unit: KΩ |
|
| 22.5℃ | 5~ 6 |
0.4~ 1.5 |
1~ 2 |
5.7 ~7 |
4~ 7 |
1.2~ 4.0 |
| 2~ 3 |
5.7 ~7 |
|||||
| 1~ 3 |
10.5~ 12.5 |
|||||
| 60℃ | 5~ 6 |
0.45~ 1.3 |
4~ 7 |
0.3~ 1.8 |
||
| 22.5℃ ~60℃ |
9~ 10 Timing device |
14.3~ 21 |
||||
| 8~ 9 Oil |
8~ 12 |
|||||
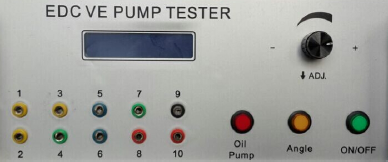
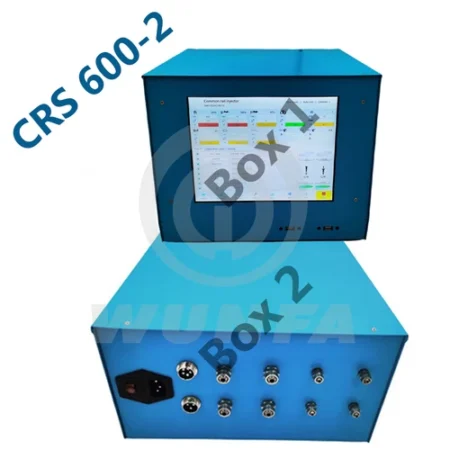
B. Chassis Panel
C. Operating Instructions
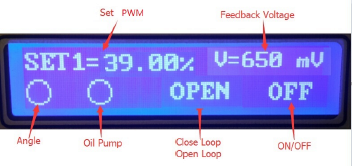
1. The default boots into the closed loop mode. Four sets of parameters can be preset, short press ADJ button to switch the packet, and turn the knob to adjust the current value:

2. Long-press the ADJ button to switch to the open-loop mode. Four sets of parameters can be preset, and the knob to adjust the current value:
3. Oil pump button control supply oil solenoid, which you need to open to repair the pump; Angle button control Timing solenoid, which opens at 400 rpm.
4. Long press oil Pump button into the setting:
You can set the voltage value of SET1~SET4. Press the ADJ button to save the current values and packet switching, swirling around the ADJ key to change the current value.
Factory items, whether to restore the factory default, swirling around the ADJ button to select Yes or No, press the ADJ button to confirm.
D. Dynamic Test


Reviews
There are no reviews yet.